Hello fellow readers, I am back! PonPeko is still alive and eating!
My apologies for not updating my foodie adventures here. What have I been doing? Well, I have been busy visiting cafes and restaurants every weekend, trying out new places as well as exercising. I totally enjoy the privileges of staying near the city as I have many different eating places to choose from. Remember my motto, ‘Eat first, worry later’? I have been practicing the first half of the motto ever since I moved up here. Suddenly it dawned on me that I should start worrying now as I have been putting on weight and my five-year-old jeans is feeling tighter than it used to be. Hence, I signed myself up for gym membership to ensure that I can have the best of both worlds (Yes, I am greedy! :P).
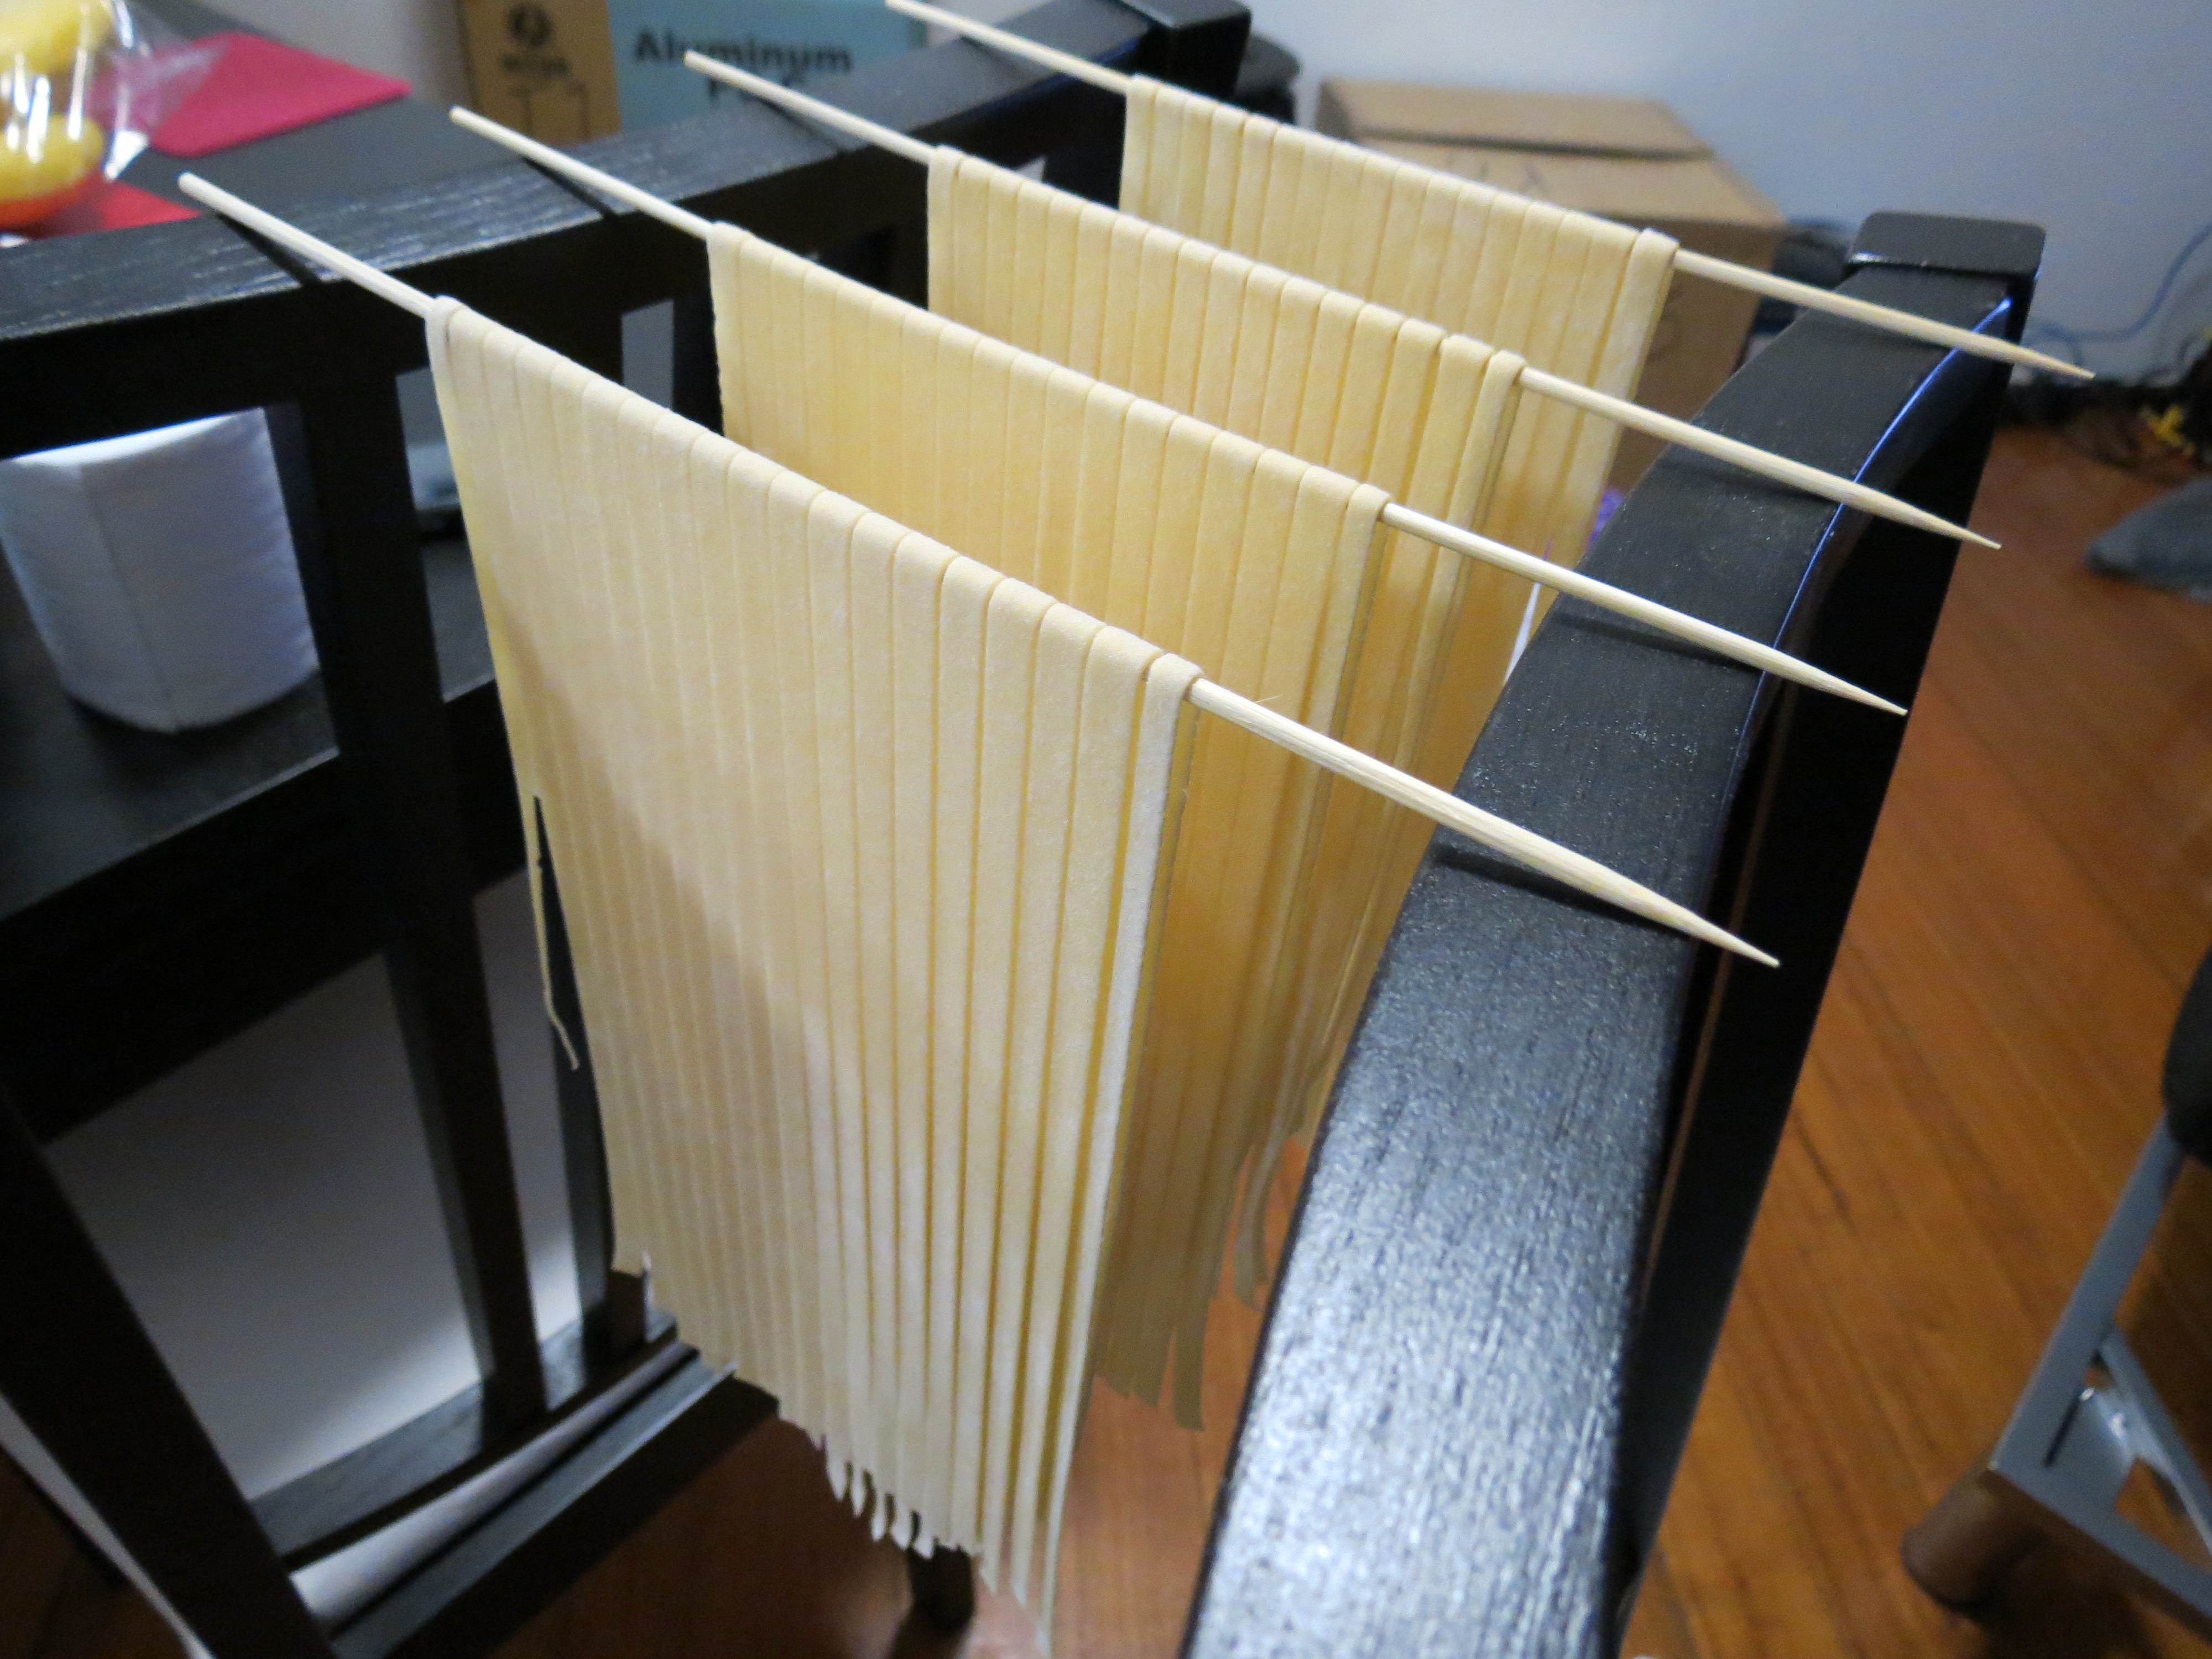
As promised in my previous post, I would like to share with you my pasta making experiments. Homemade fresh pasta has different texture and taste compared to the store bought ones. These are especially apparent when you have them with lighter sauce. You would be glad to know that fresh pasta is not difficult to make. In fact, they are pretty easy and fun to make. It is like playing with play dough :D.
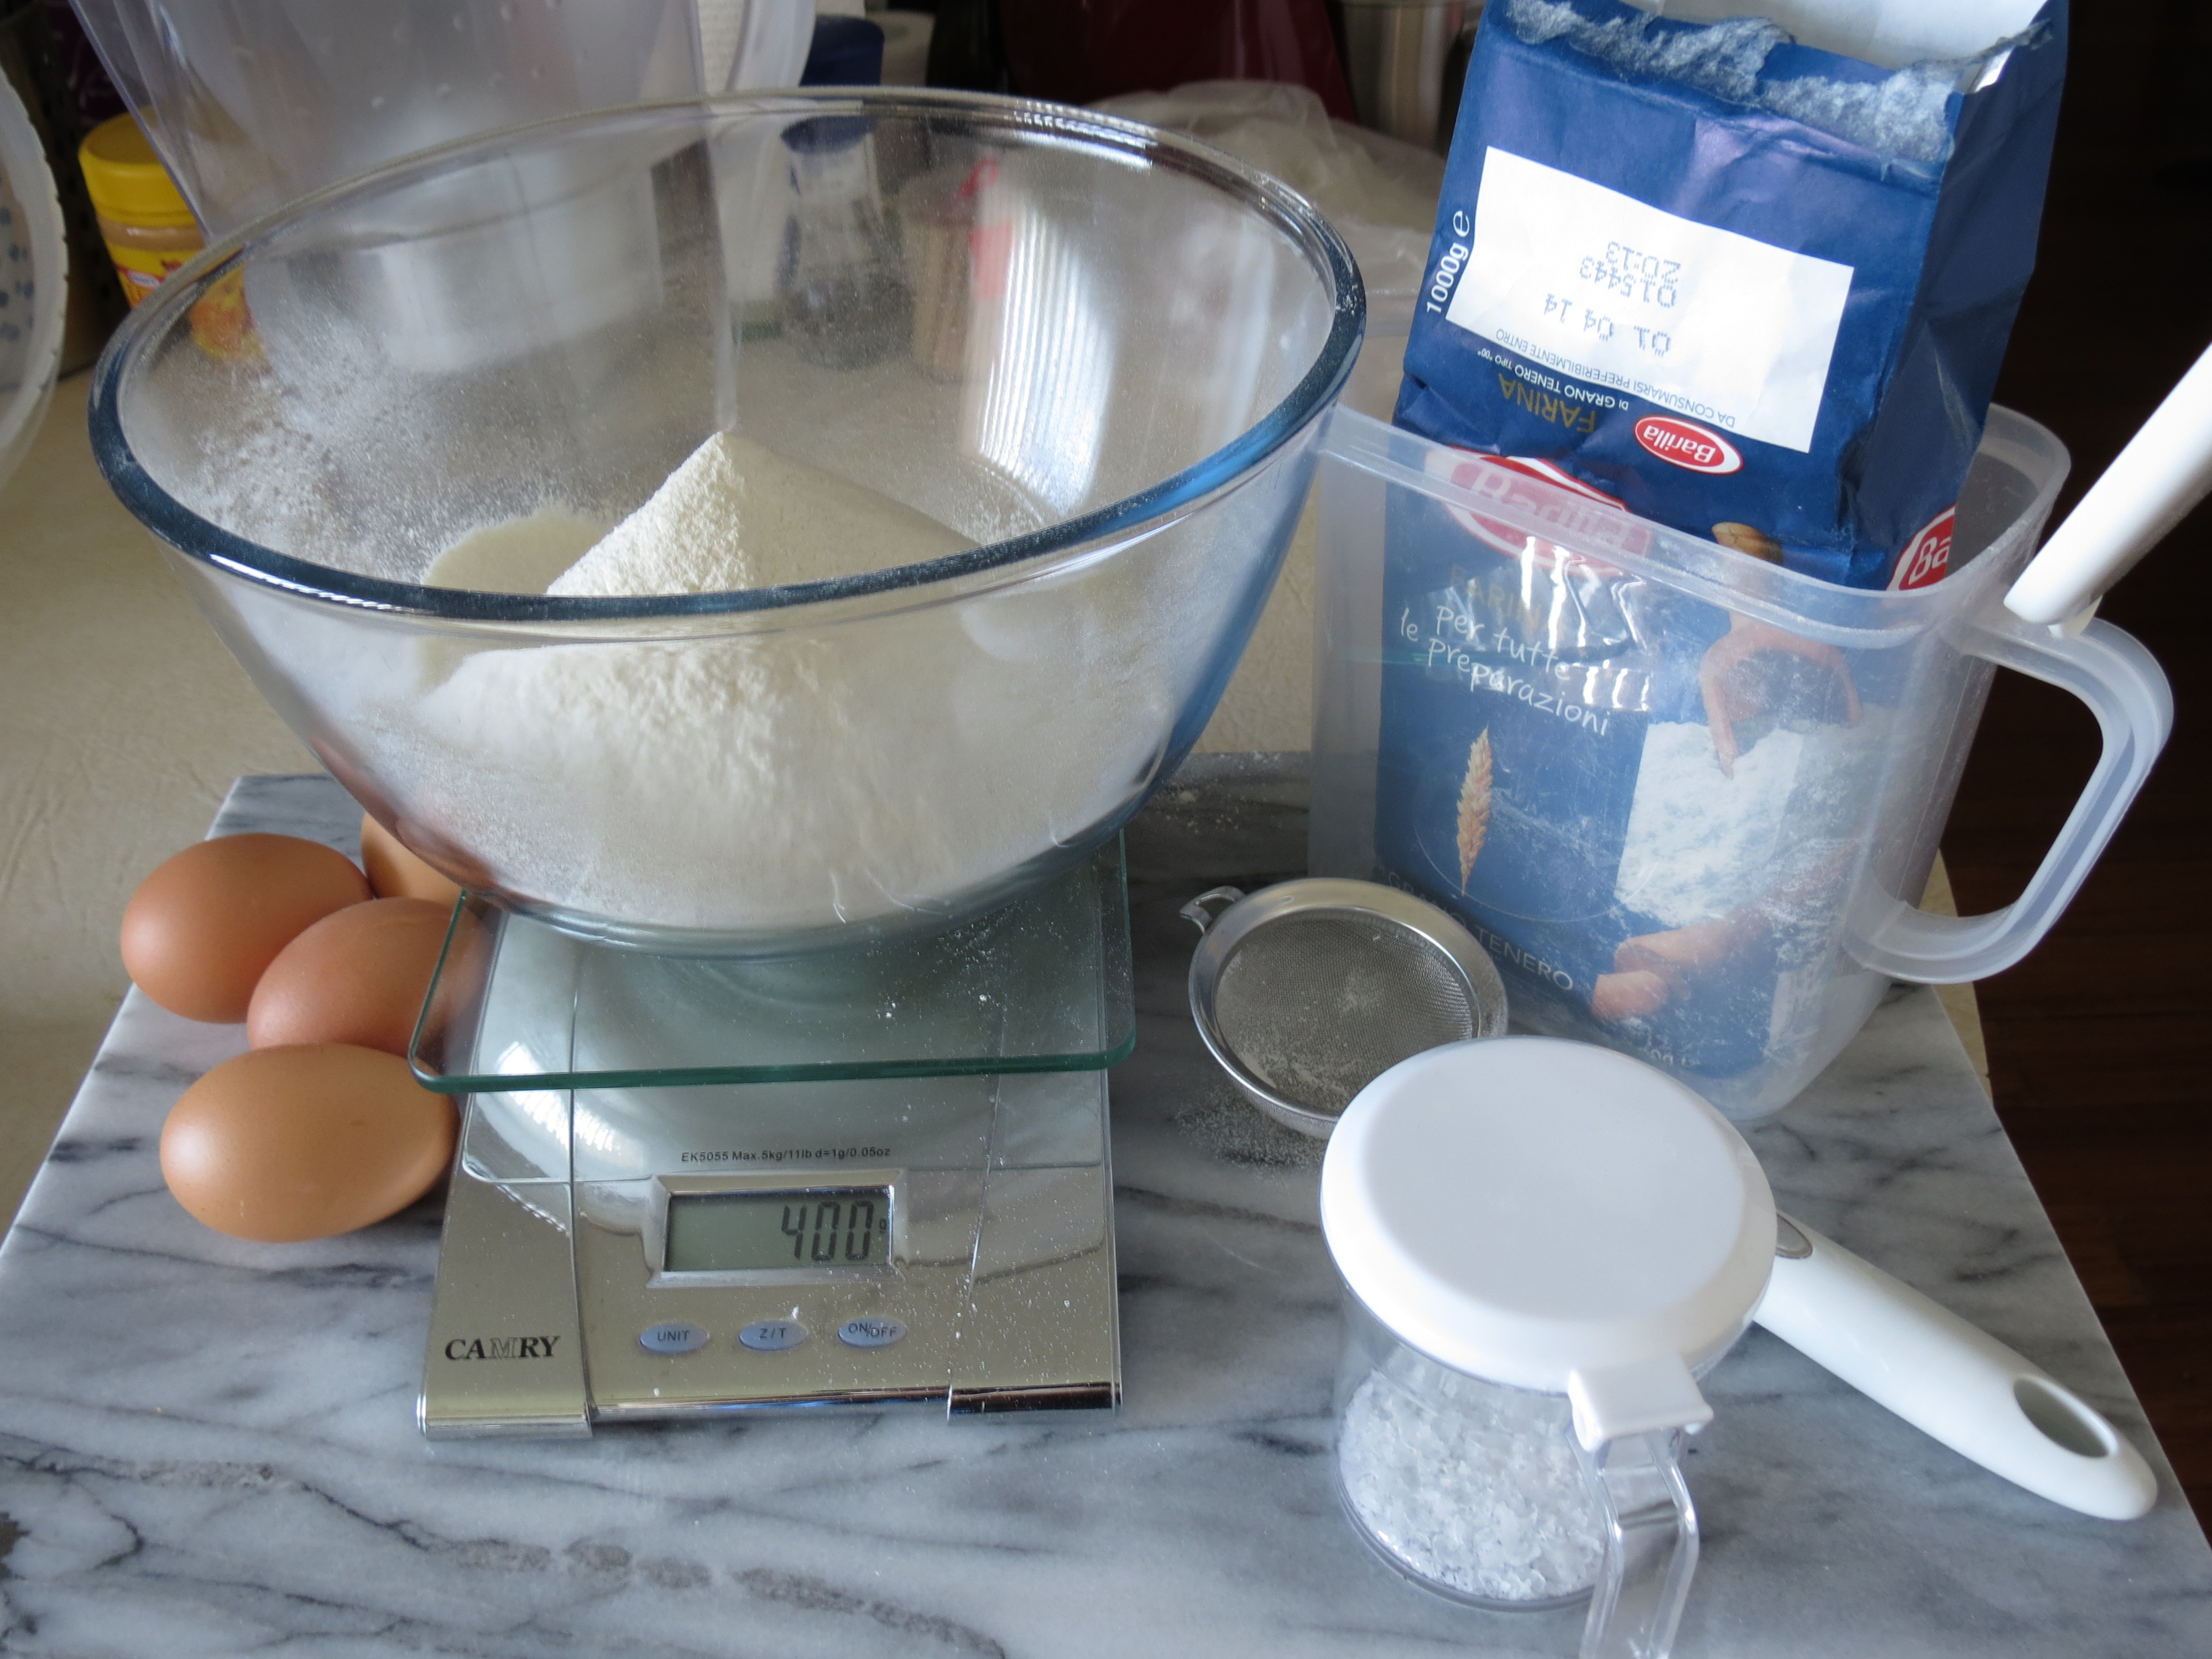 Pasta dough ingredients.
Basic Pasta Dough (Serves 4) (Taken from The Art of Pasta by Lucio Galletto & David Dale)
Ingredients
- 400g plain flour (Italian ’00’), plus extra for dusting
- 4 eggs (room temperature)
- pinch of salt
Methods
Pasta dough
- Sieve flour on the board or benchtop forming a mound. (I sieved it into a large bowl)
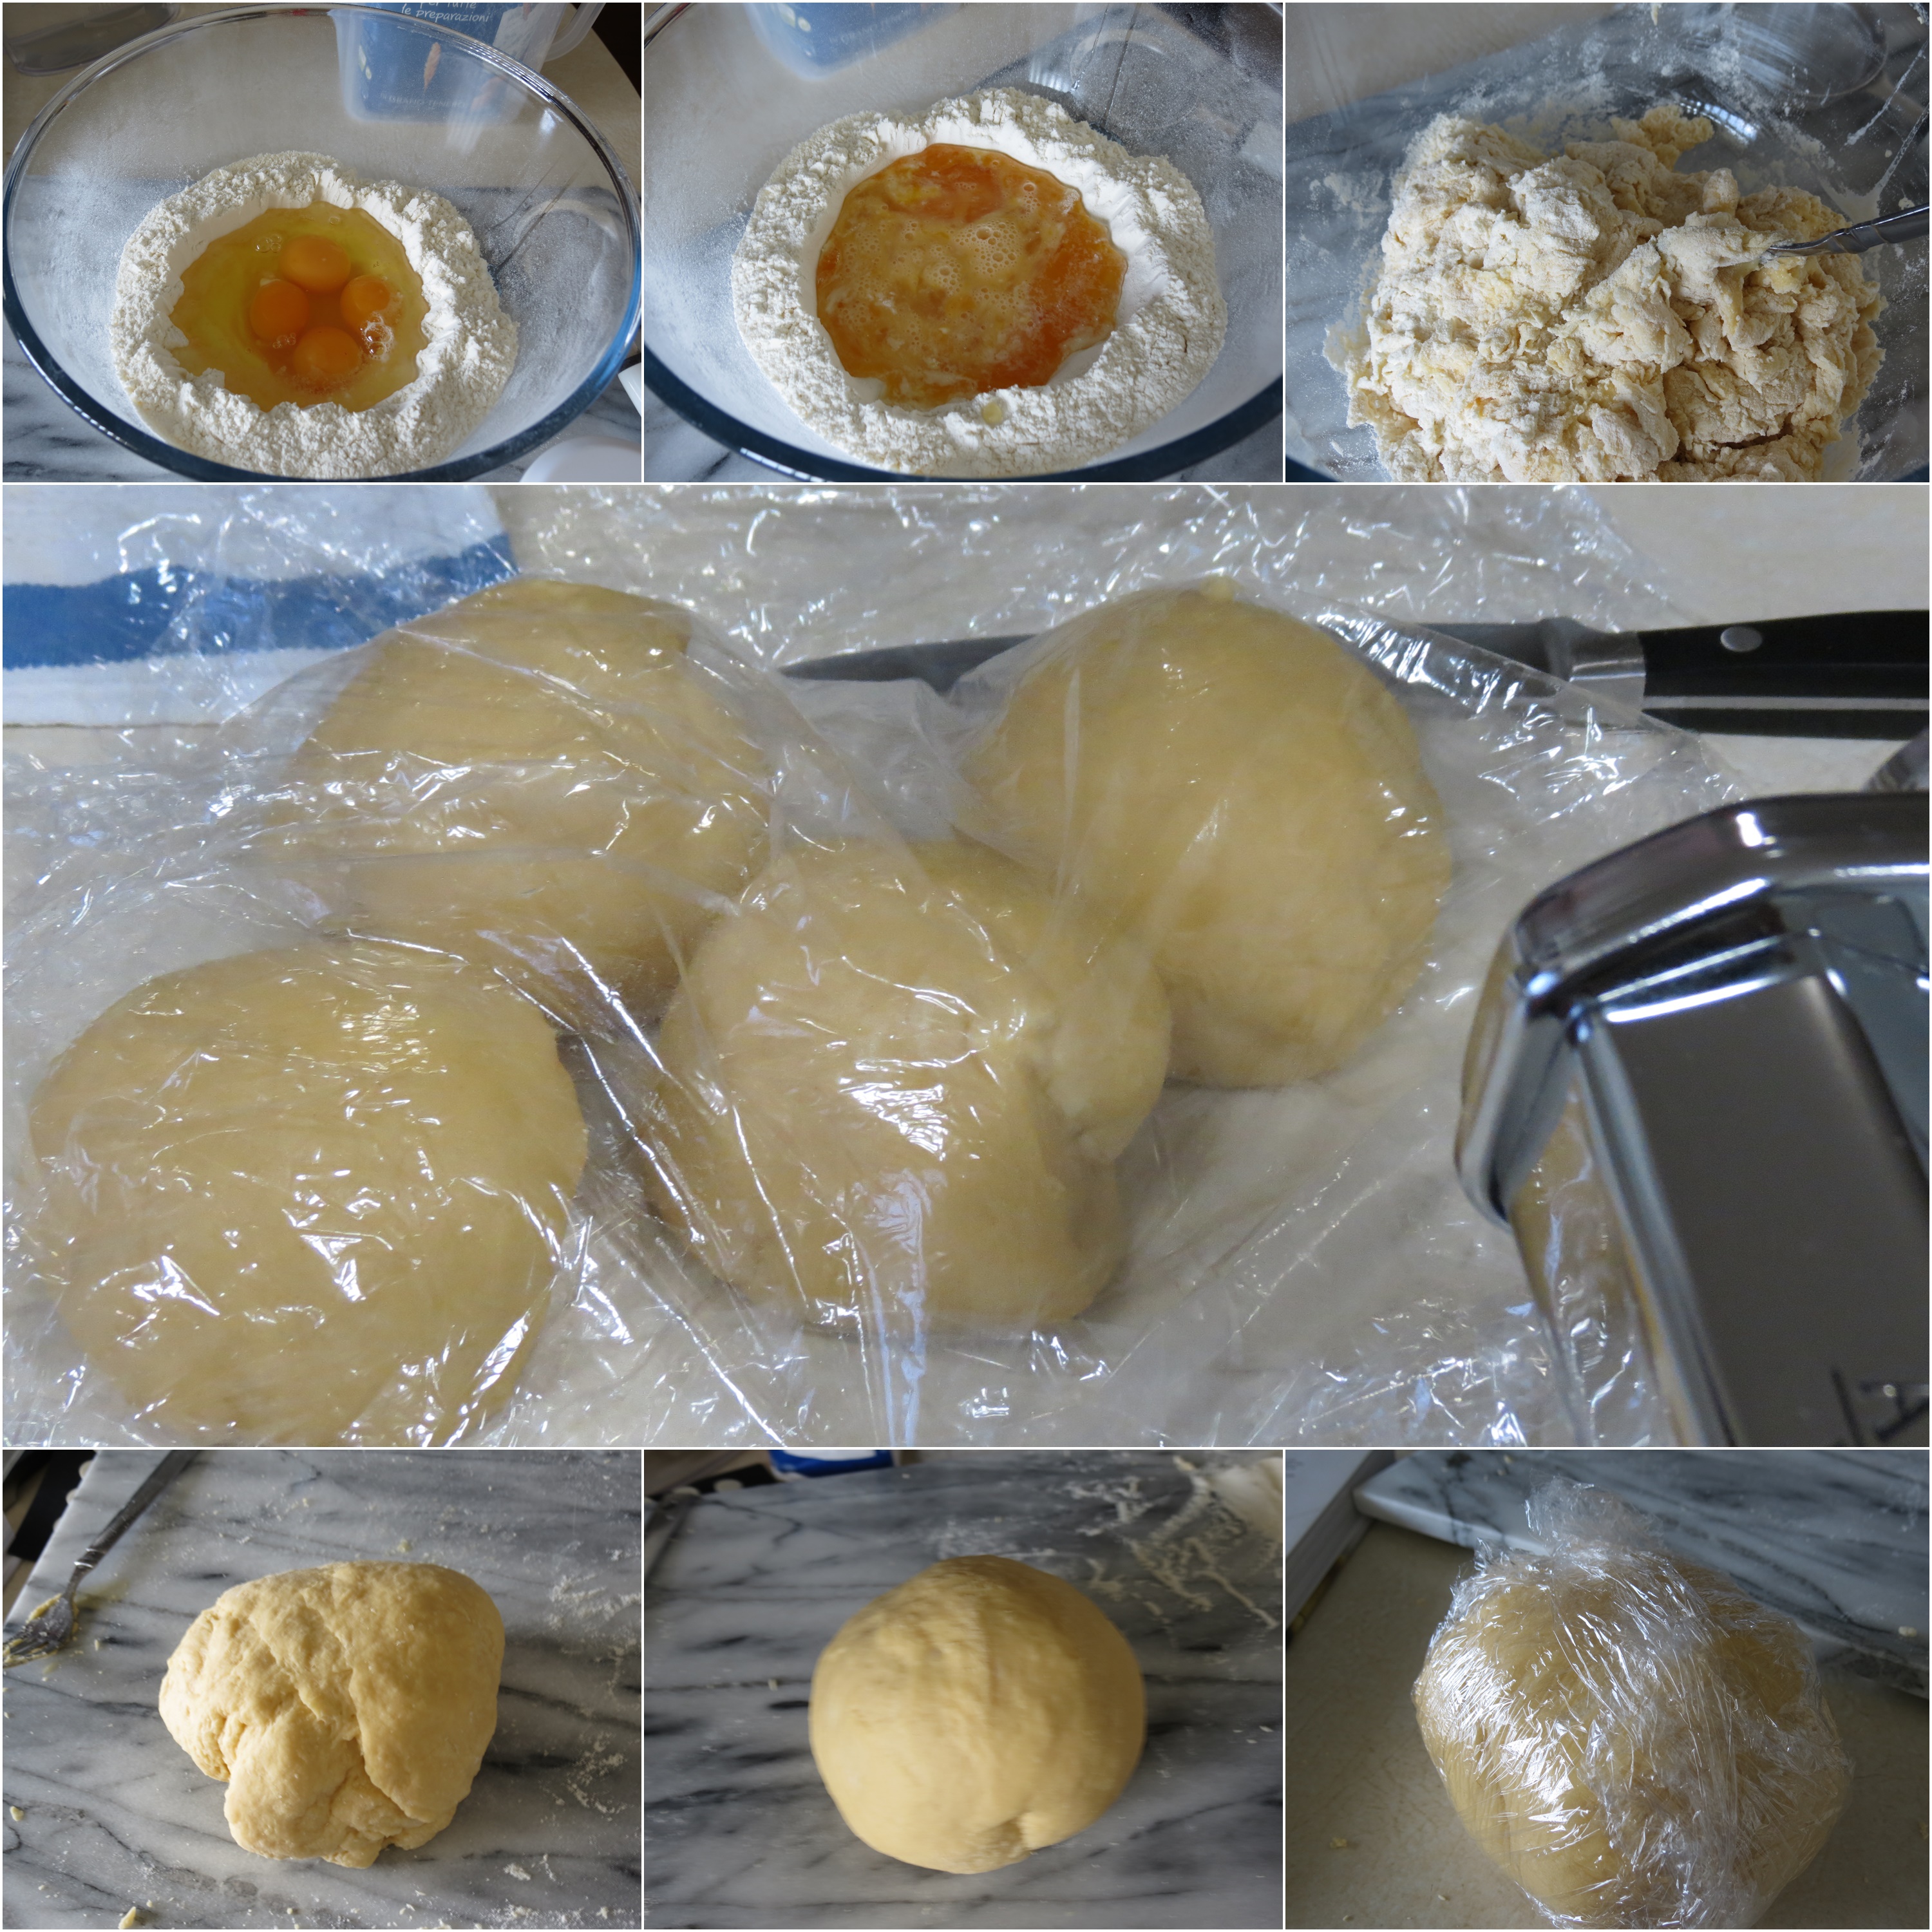
- Make a well in the center but not too deep.
- Break the eggs into the well and beat the eggs together until combined using a fork.
- Using the fork, start incorporating some flour into the eggs a little at a time until the eggs are not runny anymore.
- At this stage, tip over the mixture onto the benchtop if you’re mixing the ingredients in a bowl. Push some flour to one side (Add enough to stop the dough from being too moist and sticky). Using your fingers, draw the mound in towards you and work the mixture with the palms of your hands, pushing outwards.
- Continue drawing in with your fingers and pushing out with your palms until the dough is well mixed.
- When you feel that the dough is reaching the right consistency (not too dry nor too crumbly or sticky), put it aside and scrape the work surface and your hands clean.
- Wash your hands and dry them well. Sprinkle some extra flour on the work surface and place the ball of dough on it.
- Using heel of one hand, press down and away from you, giving the dough an oval shape.
- Fold the oval in half with the other hand and give it half a turn.
- Press the dough downward away from you again with the palm of your hand and repeat folding and pressing process always turning the dough in the same direction.
- After 8 minutes of kneading, the dough should be elastic and smooth. It should springs back if you press the dough with the tip of your finger.
- Wrap pasta dough in cling wrap and let it rest for a minimum of 20 minutes at room temperature away from droughts or for up to 24 hours in the fridge.
Rolling and stretching pasta dough using a pasta machine
- Divide the dough into four equal portions.
- Take one portion and flatten it with the palm of your hand so that it will fit through the widest setting on the machine. Keep remaining portions of dough covered in cling wrap so they do not dry out.
- Set machine on widest setting. Feed the dough through and then fold it into thirds onto itself, pressing lightly to eliminate any air bubbles.
- Feed the dough through the machine again another four or five times until it is the same width as the machine, folding it into thirds each time.
- Feed through one last time and without folding it, lay sheet on a nearby towel then repeat with remaining portions of dough. (Do not let sheets touch or they will stick together)
- Move the setting on the machine down one notch and feed each sheet through again. Keep reducing the setting a notch and feeding each sheet through, thinning the pasta until all sheets have been stretched to the desired thickness (I stooped mine at no. 6).
- The pasta sheets will dry out quickly, so you need to start cutting them straight away.
- To store the cut pasta, you need to dry them completely before keeping them in the fridge.
Tagged: David Dale, diiner, eggs, fresh, Italian, Italian 00 flour, light sauce, Lucio Galletto, pasta, pasta machine, The Art of Pasta

Leave a comment